Fabricademy Study Group in Makerbay!
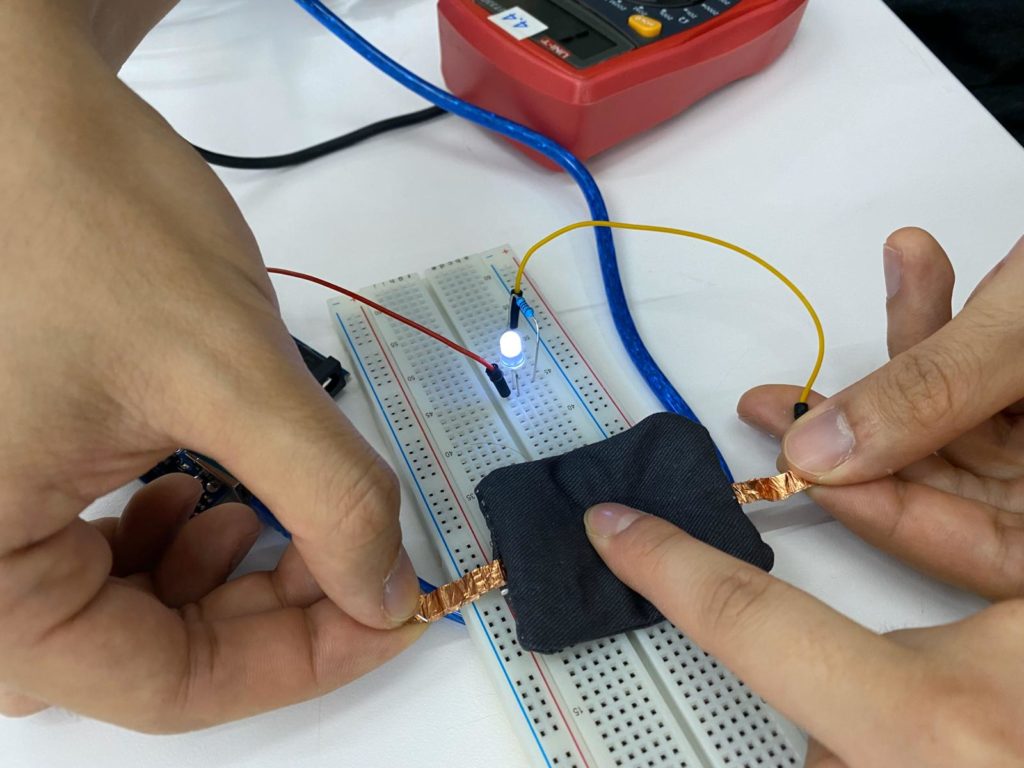
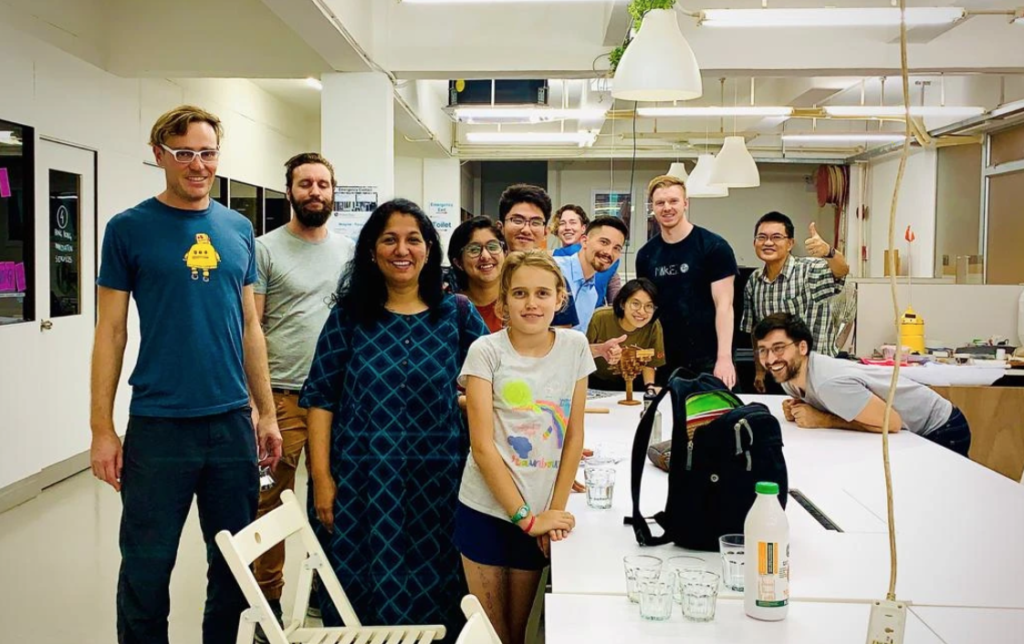
I joined a meetup held by Makerbay and DIY BIO HK, it’s a Textile x Bio x Digital Fab Study Group! In this few weeks, we started experimenting with e-textile, I don’t have so much electronic skill, so learn from basic by open source: https://class.textile-academy.org/classes/week05/
Please join us if you are interested too: https://www.meetup.com/DIYBIOHK/events/nrczsrybclbjb/
I found that I am interested in soft switches, so I try to follow the instruction below to make one.
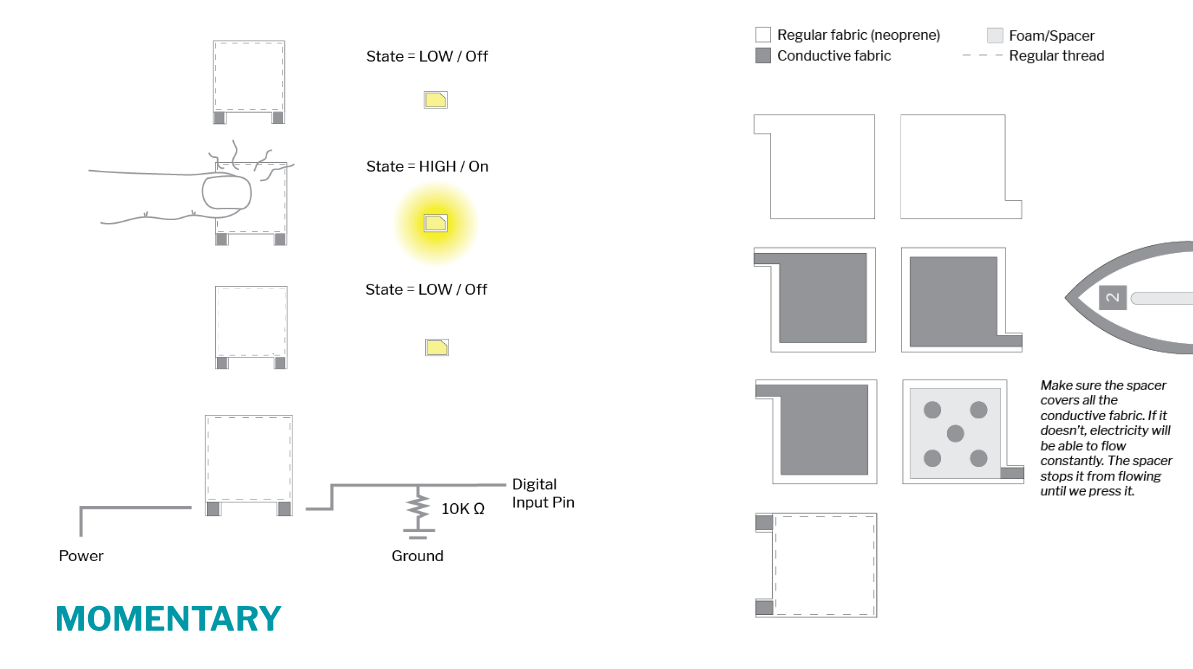
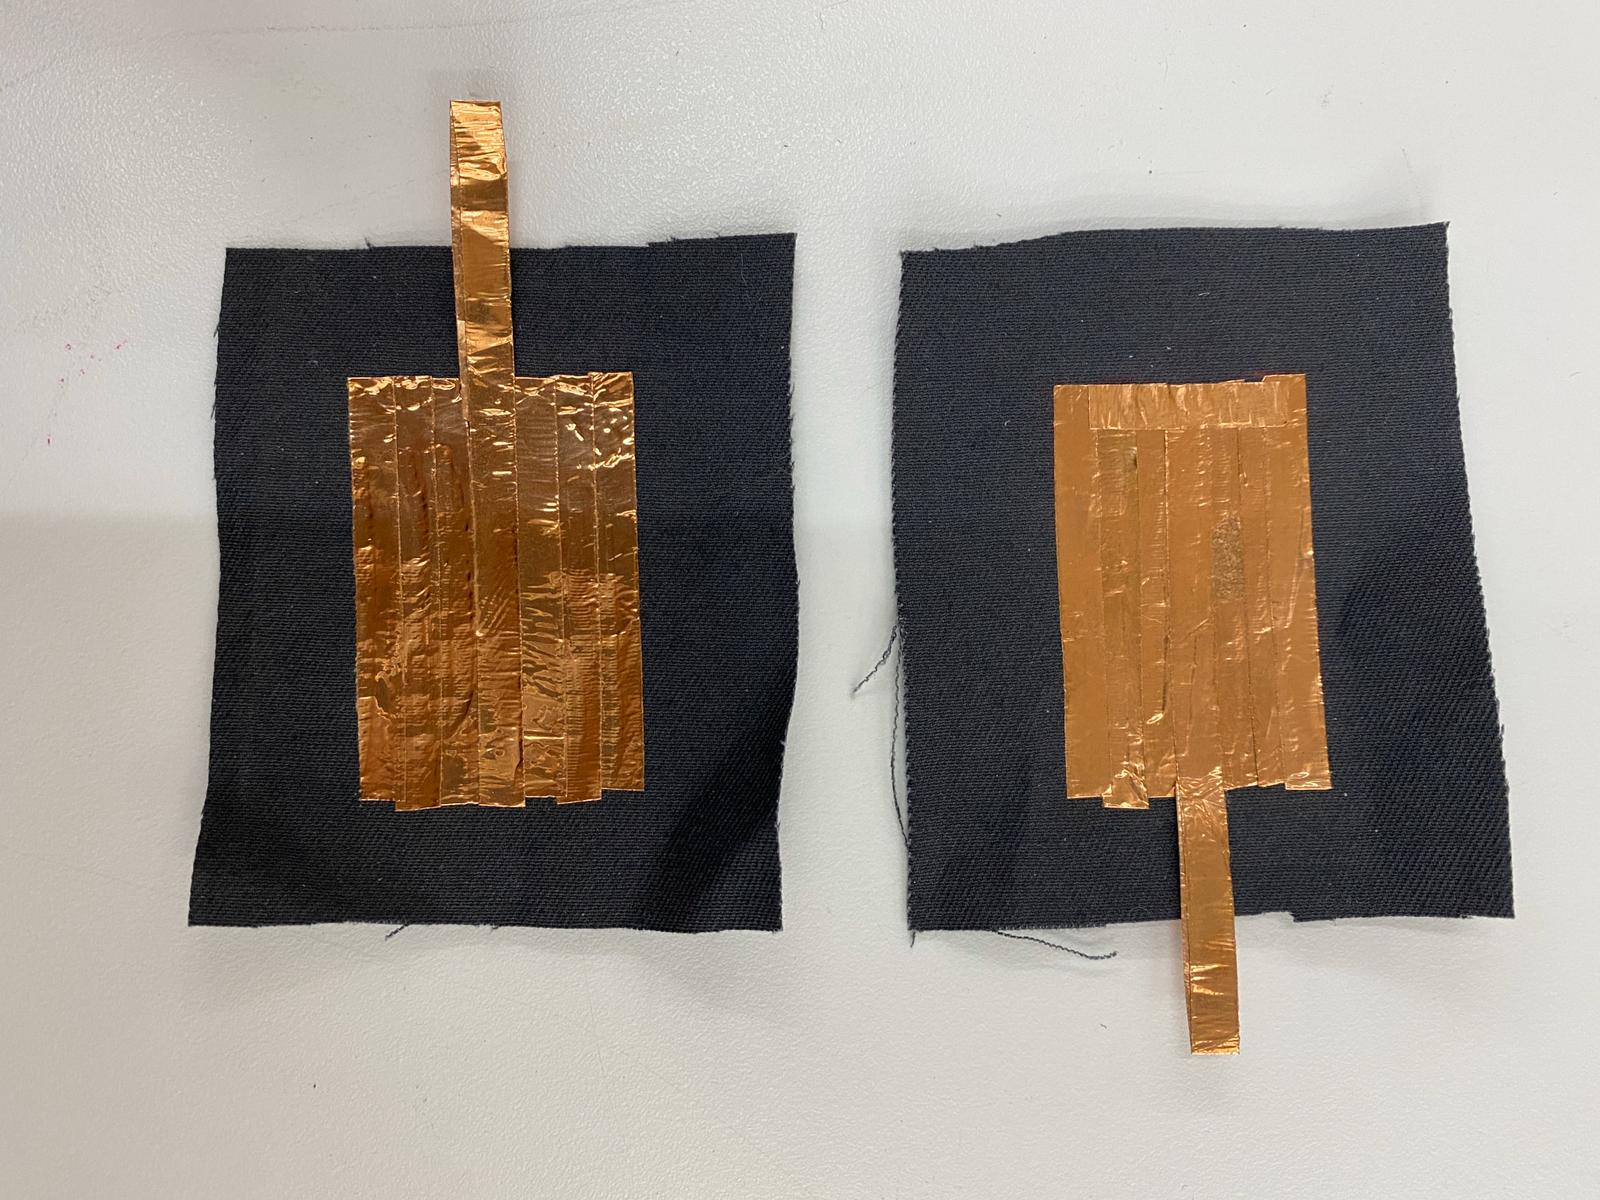
I didn’t have any conductive fabric, so I took conductive tape from our electronic bench instead. But it’s easily to break, hope I can get the conductive fabric next time.
I sewed them face to face, and cut a square in the middle if the sponge.
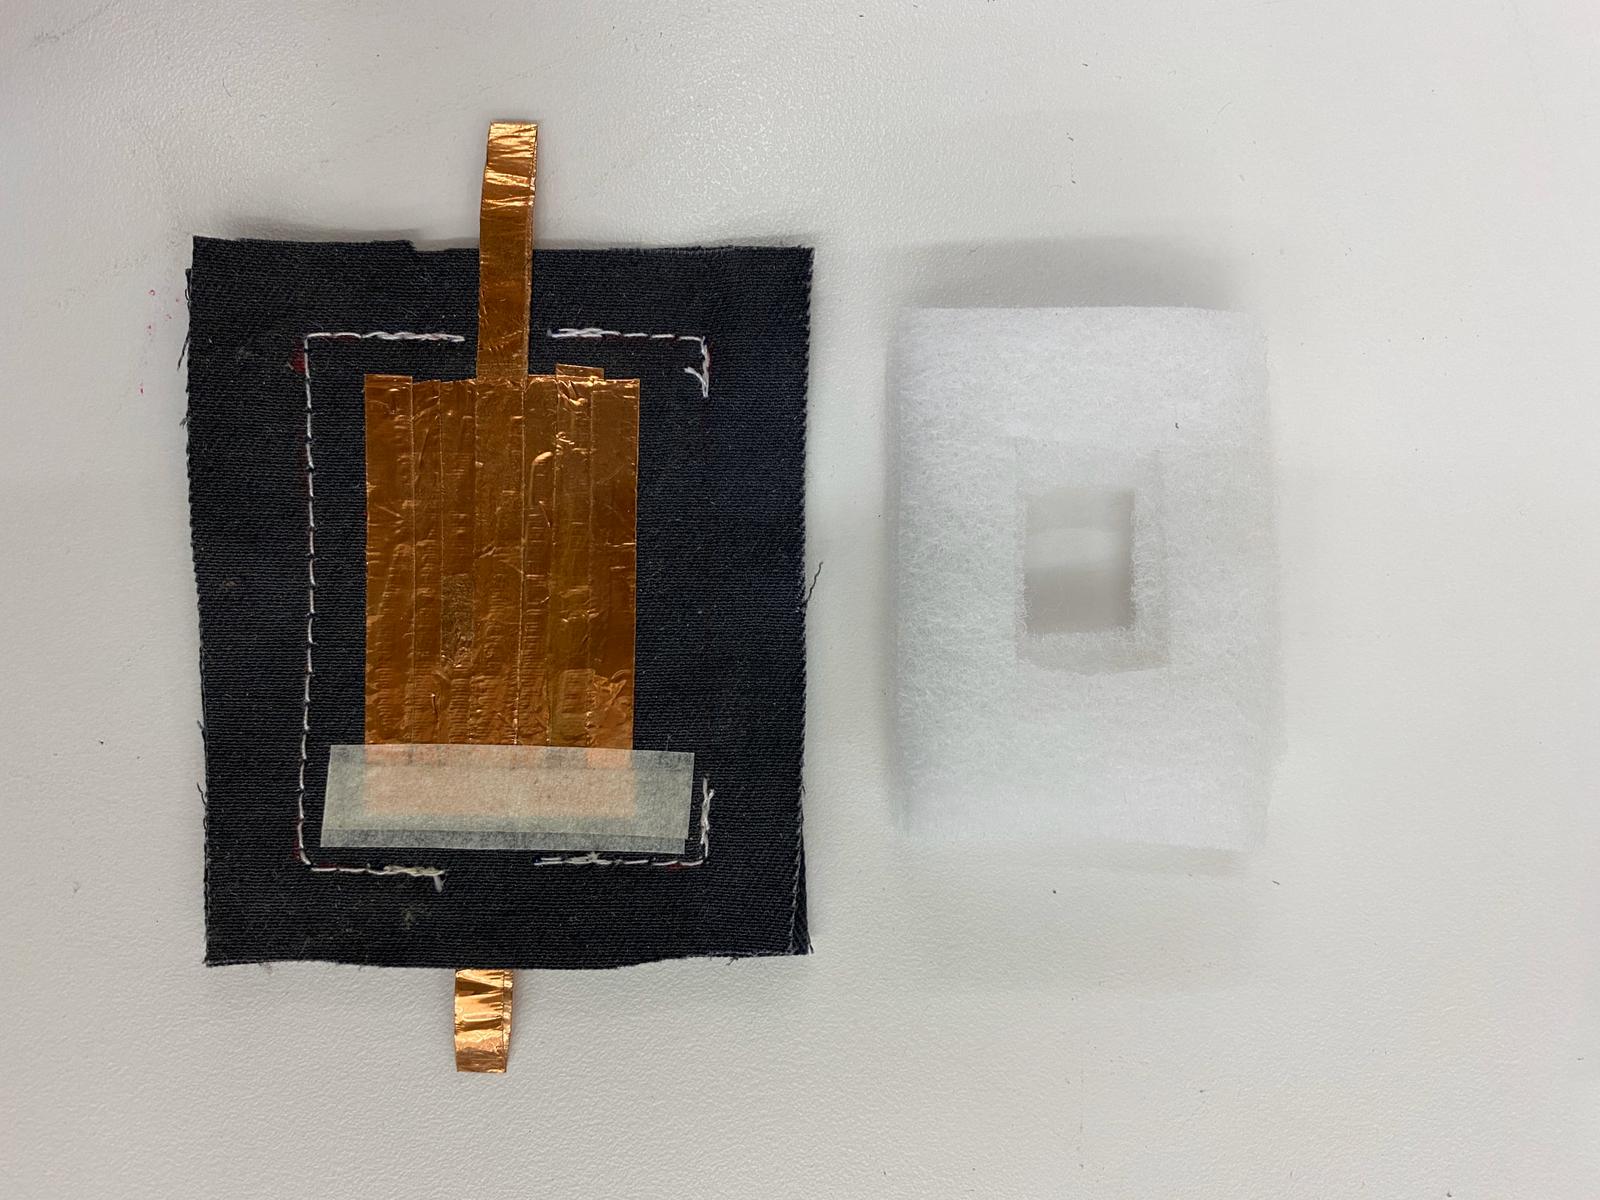
I flipped it over and put the sponge in.
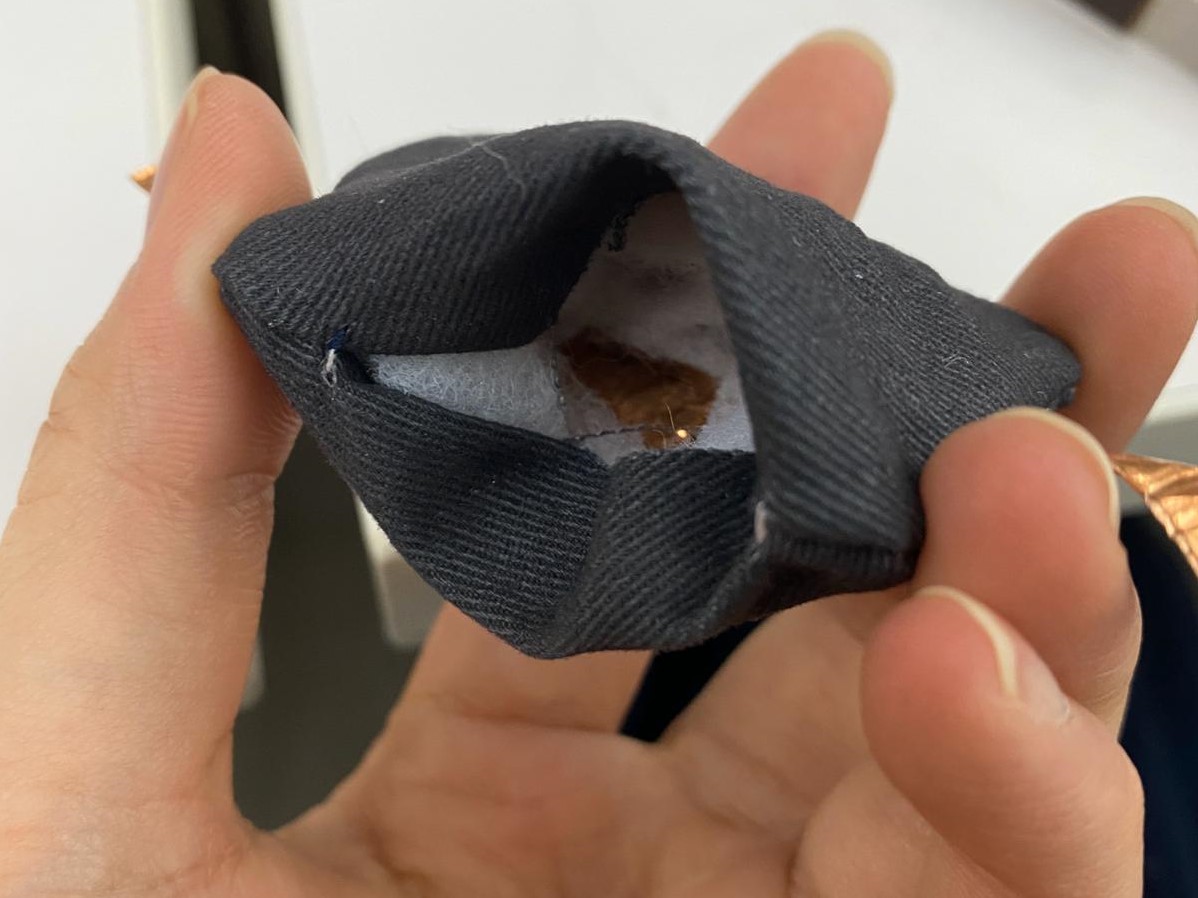
TESTING TIME! It turned out good!
After that I try to make a circuit on the fabric. I made loops with the wire and sewed them on fabric.
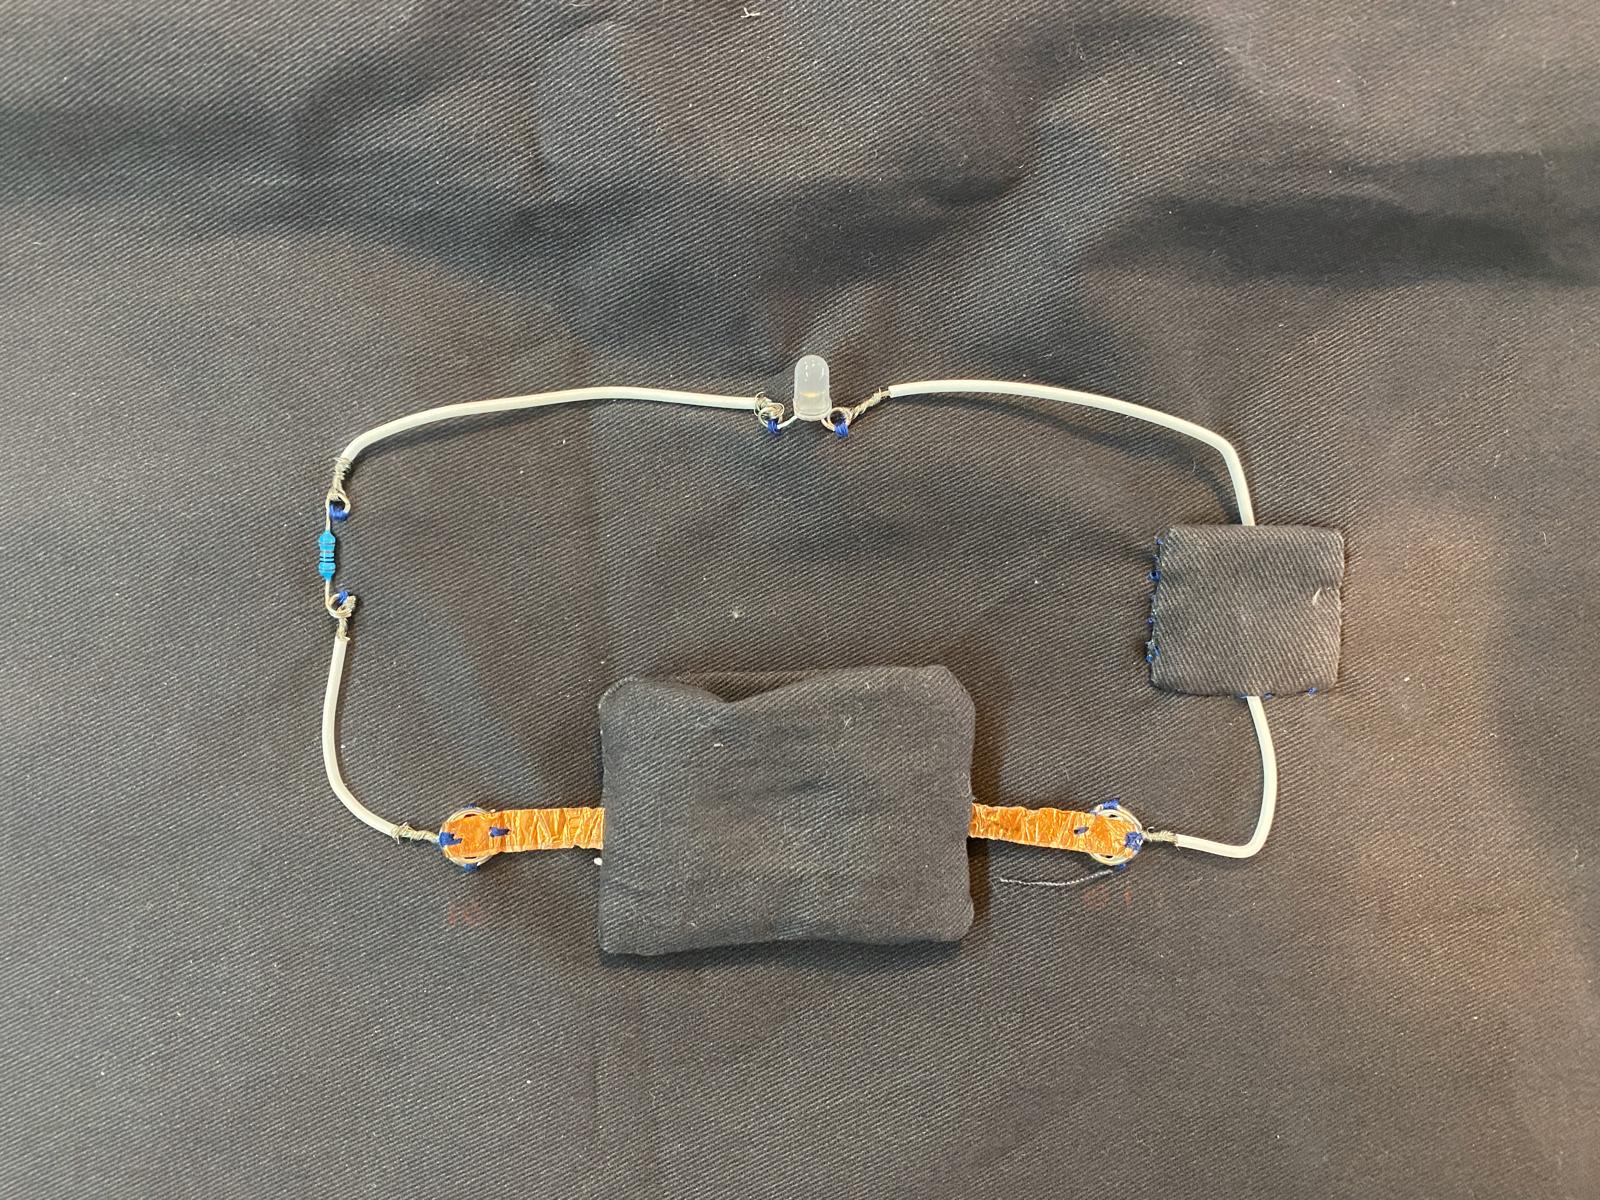
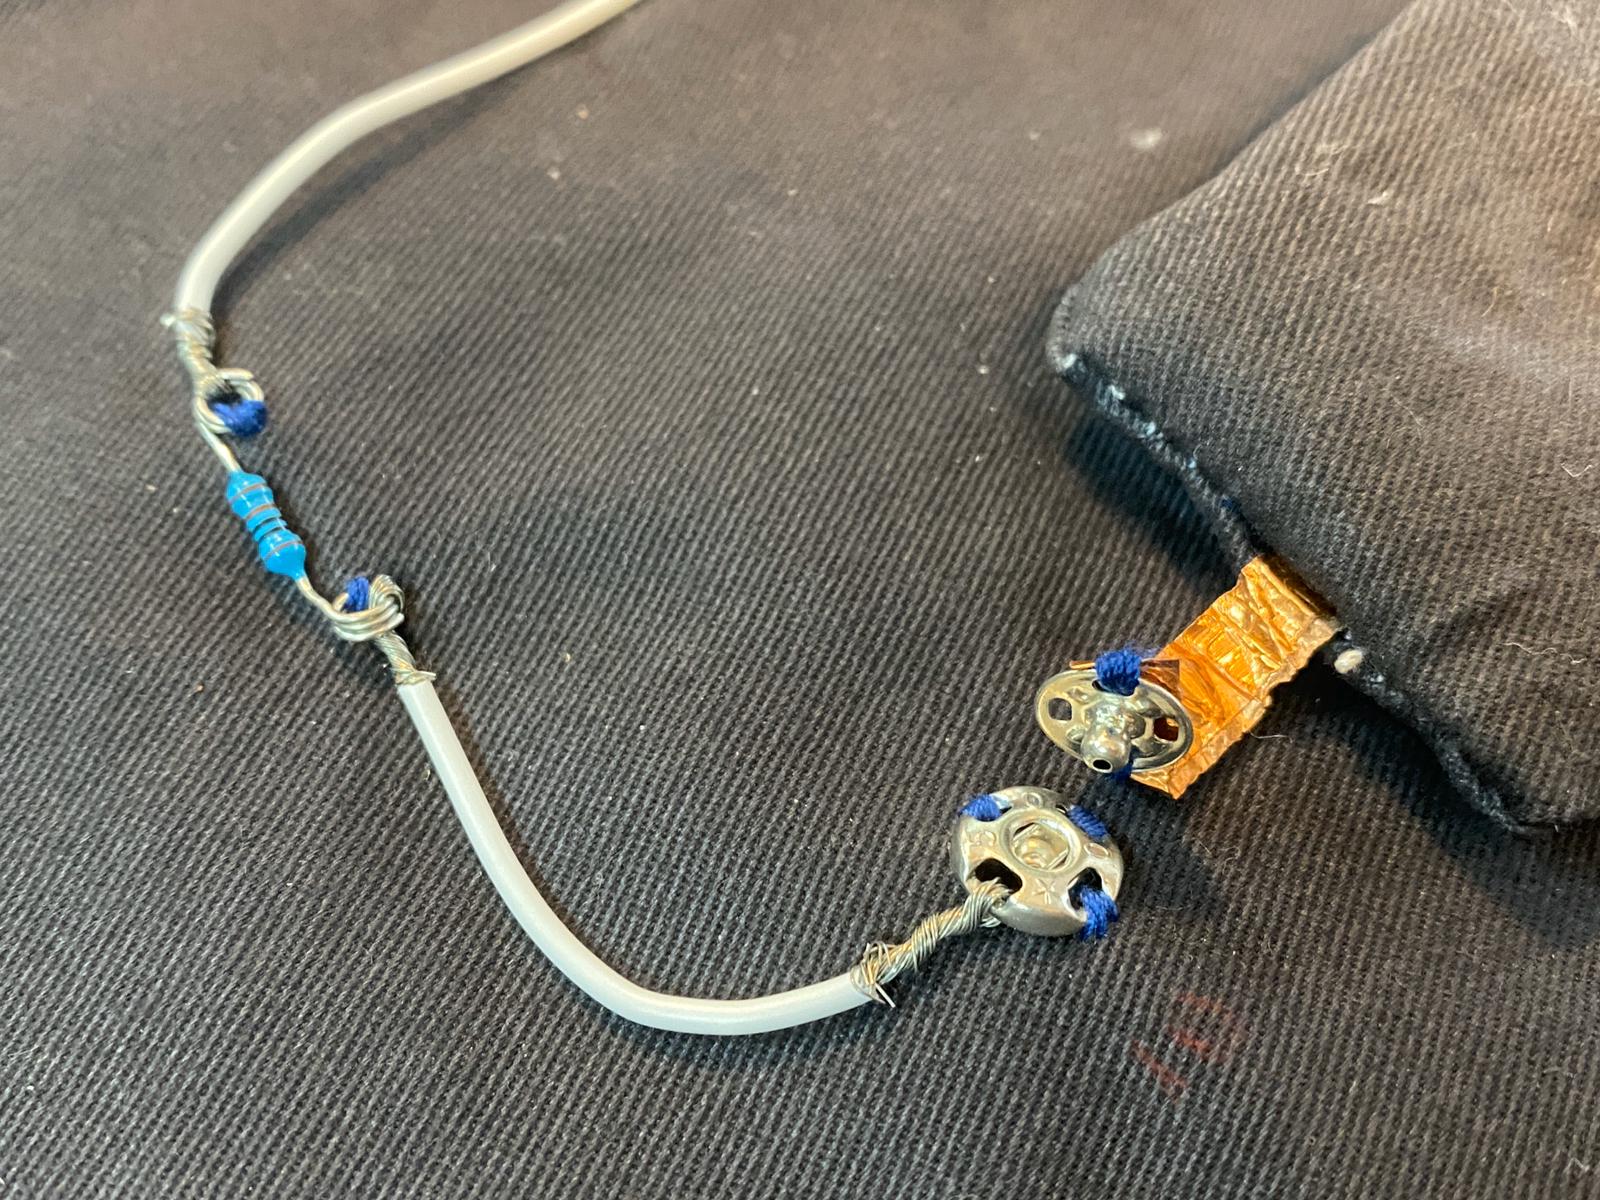
I hand sewed snaps at the both ends of the switch. But I found that the connection is not very good, I need to press the joints to light up the led. So I decided to use conductive thread next time.
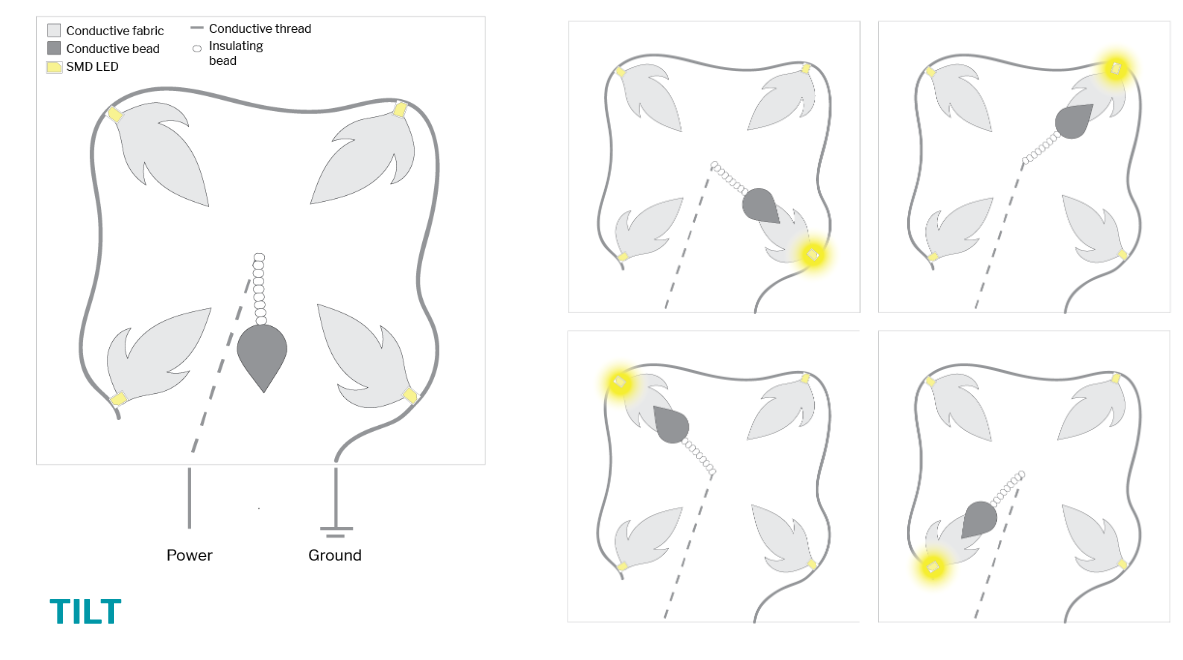
After I learnt the concept about the momentary switch, I want to combine momentary switch and toggle switch in one circuit. I want to make something similar as the design below:
This time, I added the battery inside the soft momentary switch, and I got conductive thread this time, so I can sew on webbing, it’s much more strong and stable connection!
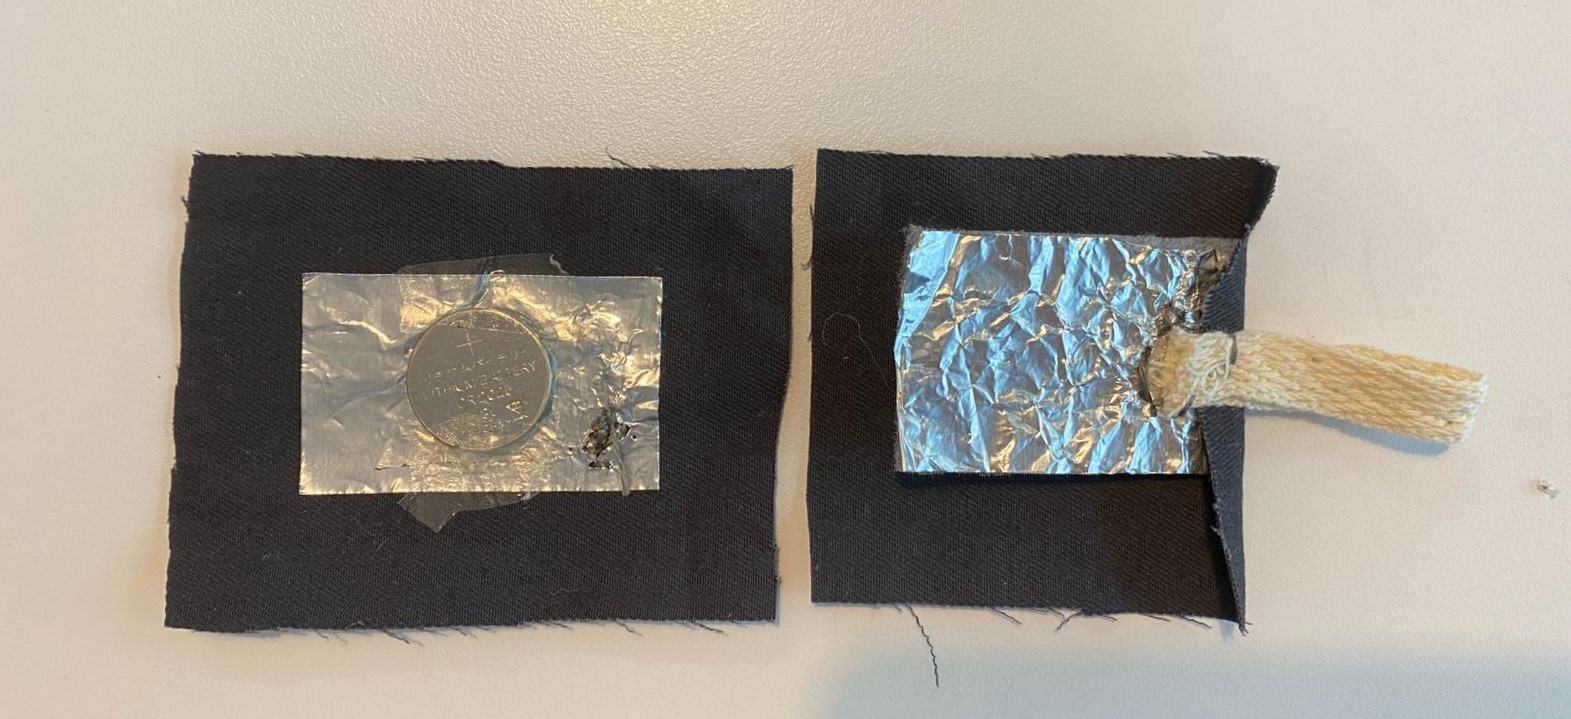
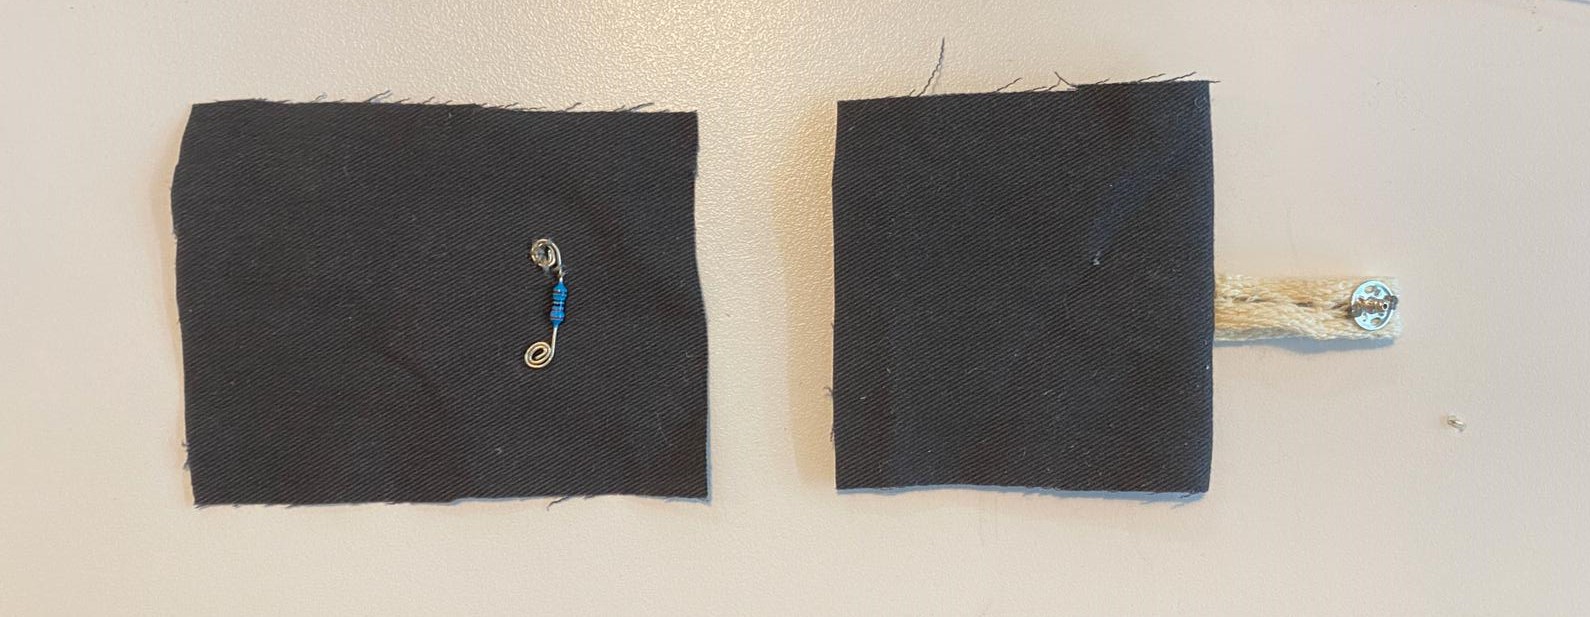
I want to keep the circuit clean, I tried to hide the resistor in the switch, so we have resistor and battery in one switch! I used the same sewing method as before, but used conductive thread this time.
Attach different colour leds on the fabric with conductive thread.
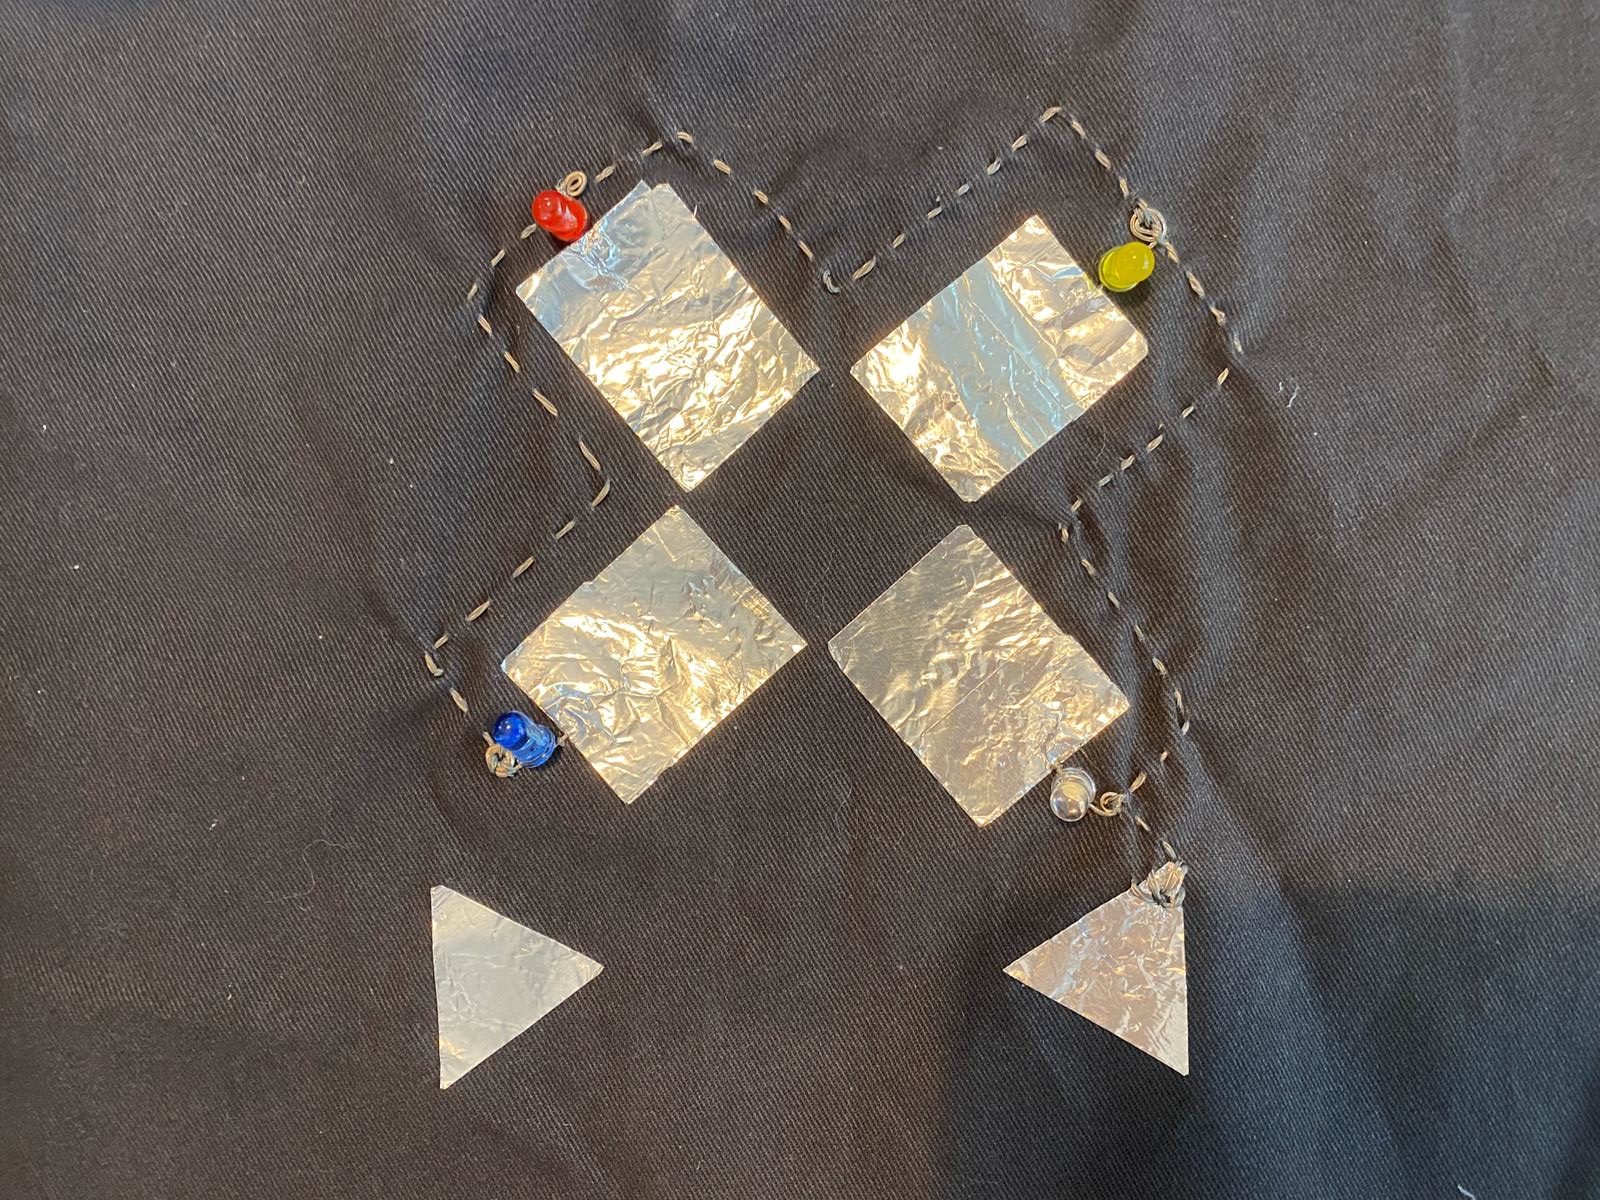
Then I used some beads to cover the conductive thread and add snaps on each led, then it’s done!
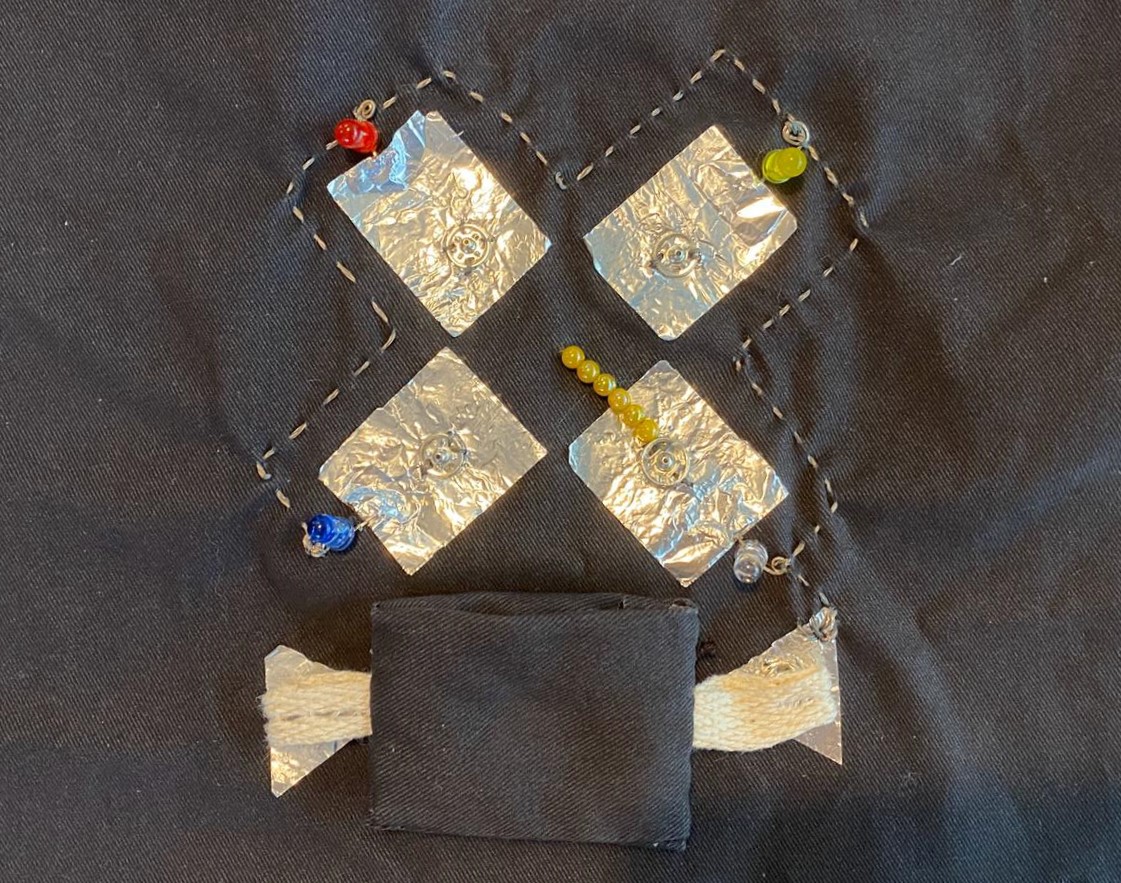
Testing time!
I love the result so much, next step I am going to think about how to use them on our garment! Please let me know if you have any idea~


Responses