The Way We Create a Design Thinking Class in a Secondary School
What is the difference between a Workshop and a Class? While “Workshop” focuses on the output, “Class” pinpoints the learning process.
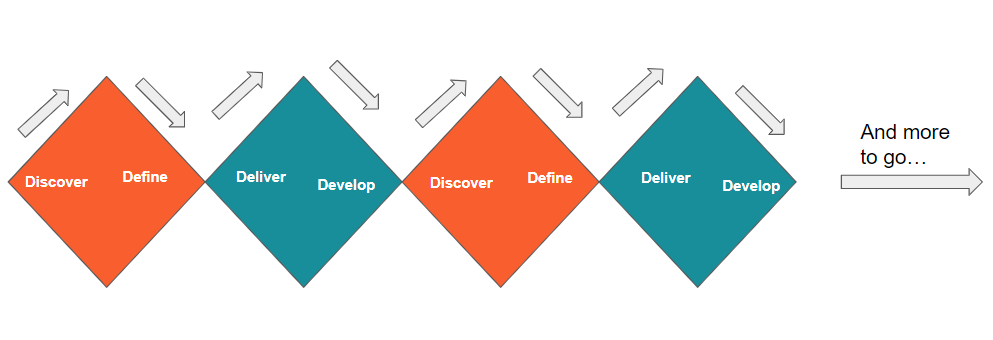
Last few months, we conducted a 16-session Design Thinking Class for a secondary school. As the class was designed, we emphasise on the learning of each student, with guidance for them to reflect and review their thoughts. Throughout the 16 sessions, they experienced the essence of design thinking by going through the whole journey in a non-linear way. It is important for them to keep trying and challenging themselves.
As design thinking is a journey of trial and error, it will be more effective to conduct the training through a series of workshops instead of one-off ones. In this article, we will share how we design and frame the programme, and we hope more and more schools can implement the similar teaching curriculum in the future.

What is Design Thinking for us?
Design thinking is a mindset that enables you to create human-centric and innovative solutions. It includes Empathy, Creative Confidence, Experiment Spirit. It is about a mindset shift when we talk about implementing Design Thinking, therefore it is impossible to learn Design Thinking within a few hours. You may learn the theory, steps, or some tools. However, it is difficult to implement it if your mindset did not change. Therefore, in the 16 sessions, the students have to learn by making and practicing their design thinking mindset.
Teaching Framework
1/ Learn by Making something for someone

We always say in the class, “Making a solution is a part of exploring the problem”. Why did the student get stuck? It is usually because they believe it is the final product and have to present it well. However, it is not the case. Making a solution is just one part of exploring a problem. We shall remind the students that even if the prototype does not work, it is okay.
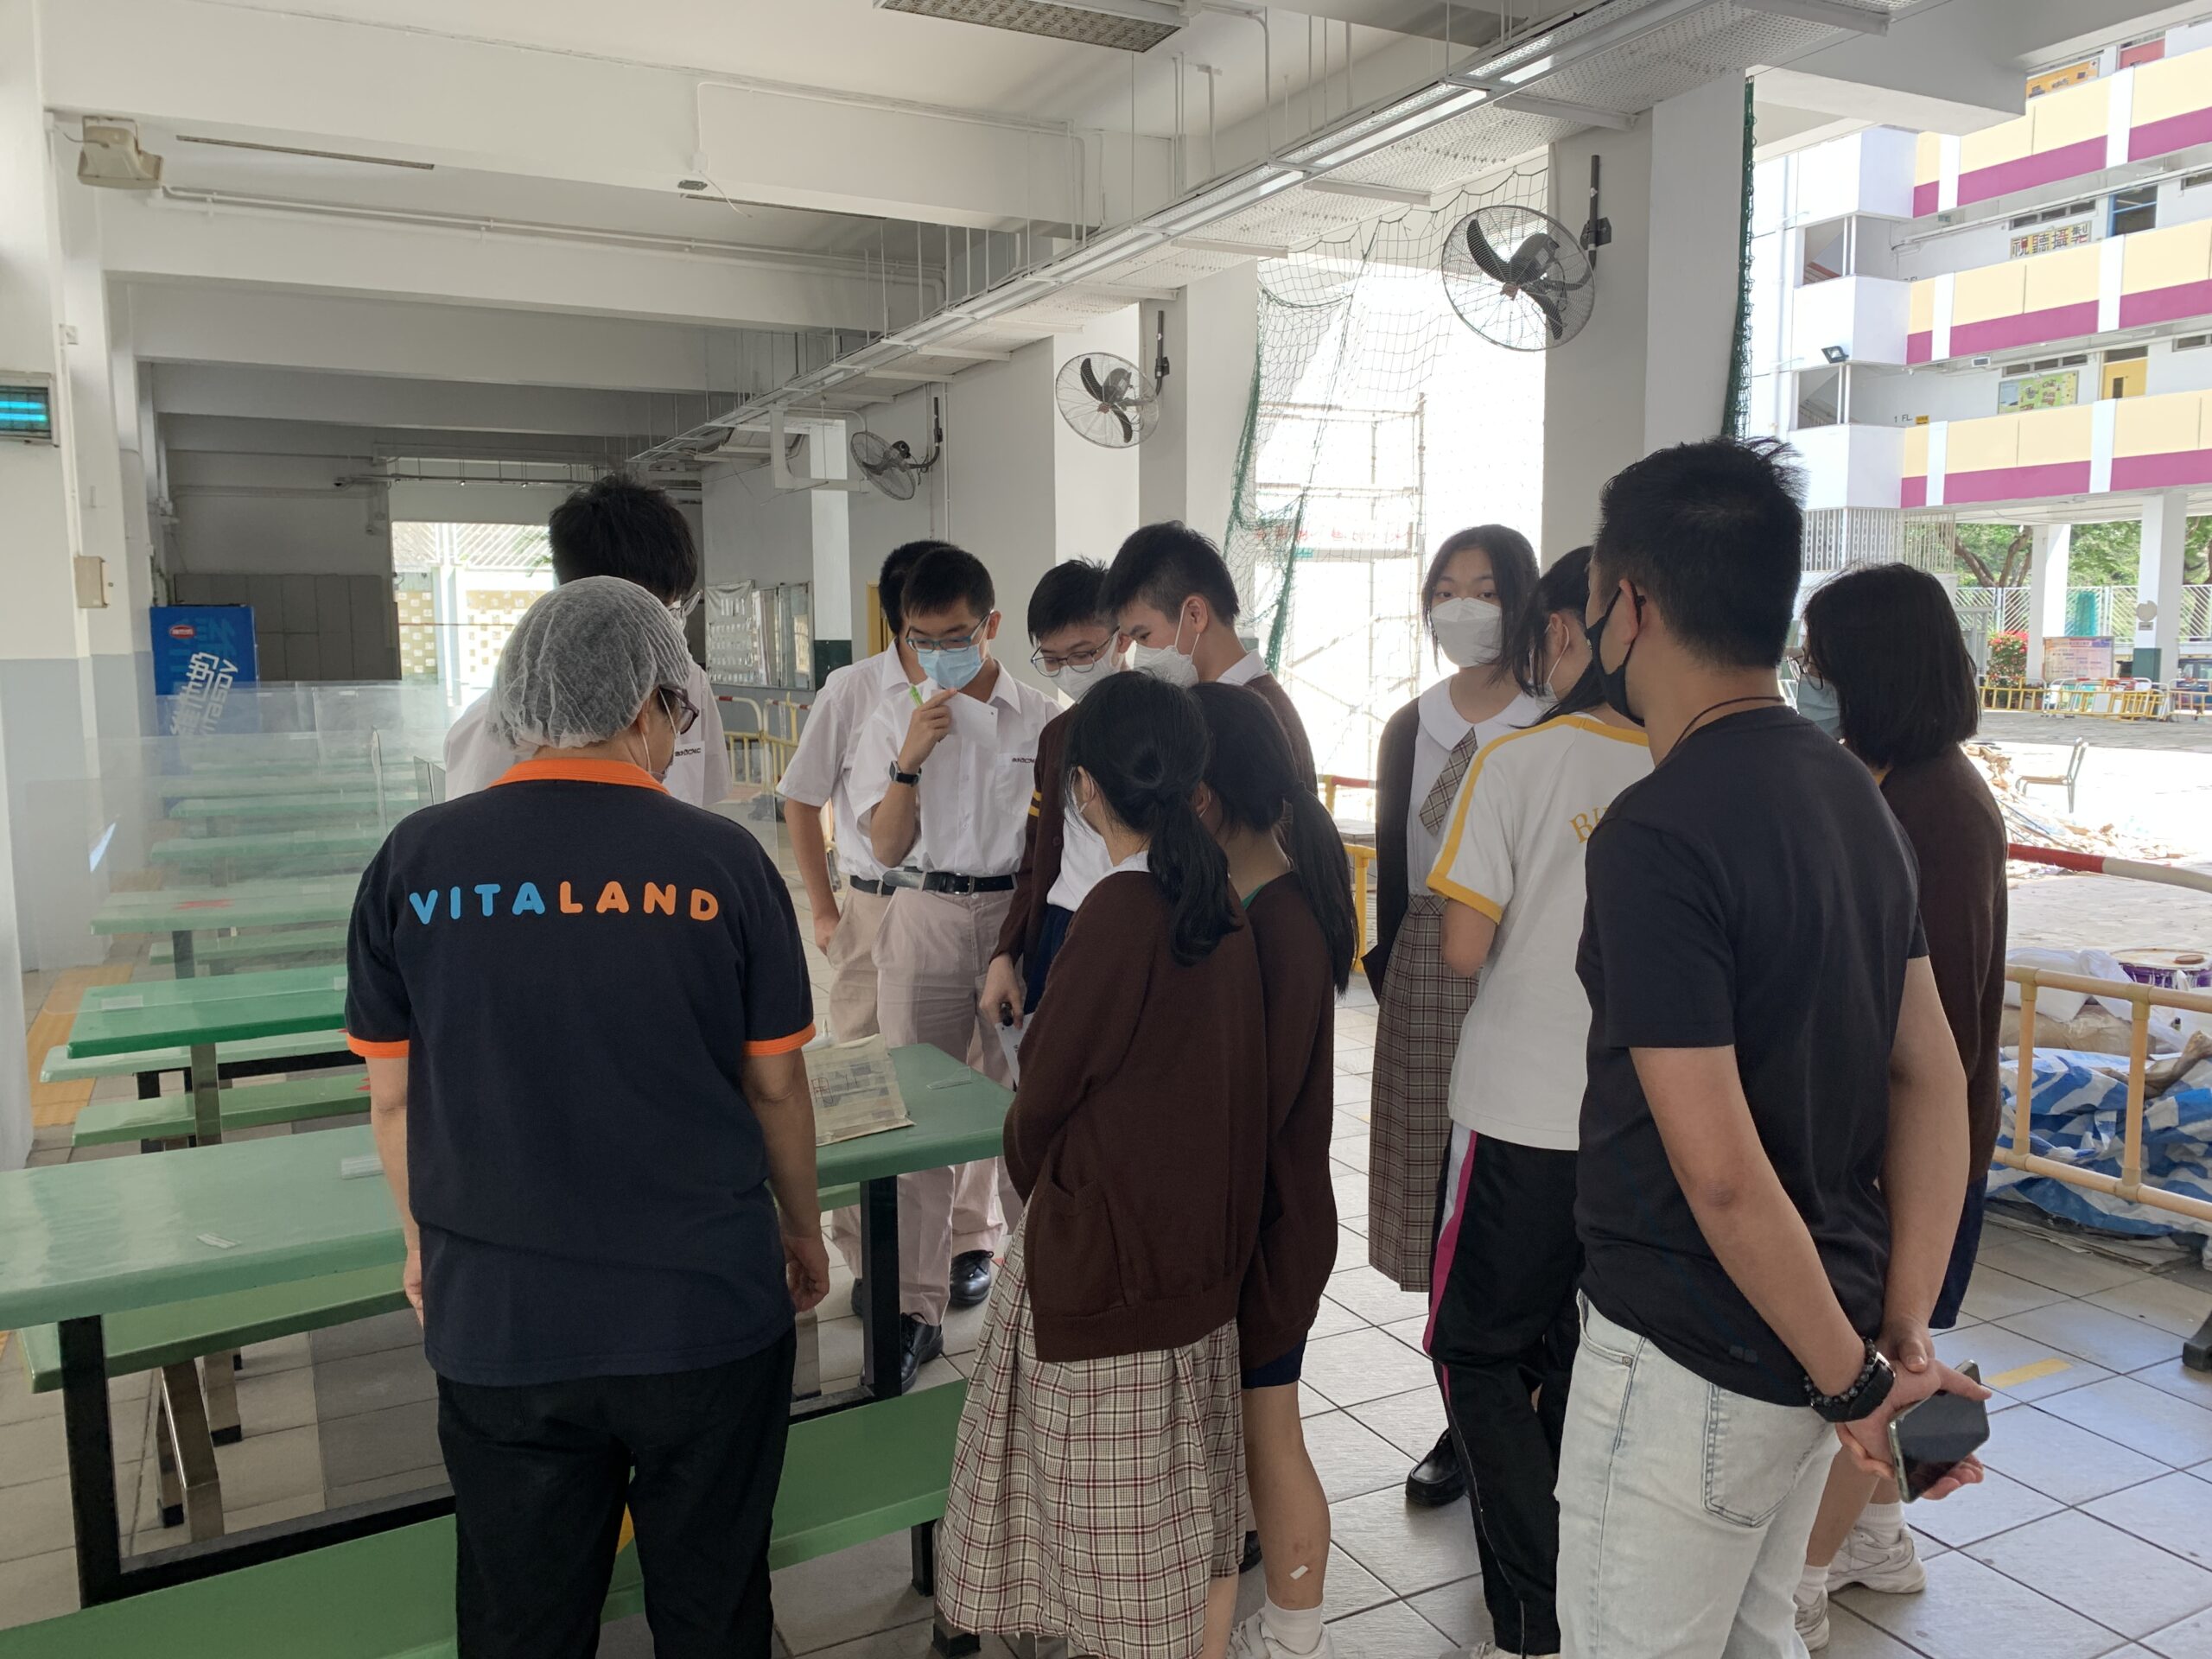
In the process of making something, everything starts with the user. During the last few sessions, we asked students to write thank-you cards for their target users (teachers, school workers, and store employees). We hope they will reflect and rethink why would they want to make something for this user. As you are creating the solution, there will be numerous failures and the “why” will drive them to keep going.

2/ Diverge and Converge
In every single session, we decided whether it is a “Diverge” session or a “Converge” session to encourage different thinking. In a “diverge” session, students have to think outside the box, being curious on everythings, and open to new insights. In contrast, students have to be logical and analytical in a converge session. As a human being, we cannot swap from open-minded to critical thinking in a short time. They have to be prepared and warm-up. Therefore, we separate diverging and converging thinking into different sessions and get students prepared on it.
What did they do in 16 sessions?
Follows is a brief lesson plan of the 16 sessions. Each session is about one hour and the students need to start from exploring the problem and then make different versions of the prototypes. At the end, their prototype may not be a fully functioning product, but via the trial and error process, their design thinking mindset has been developed.
| Session | Content |
| 1 | Understand what is design thinking |
| 2 | Building Empathy with activities |
| 3 | Learn the problem by Making |
| 4 | Understand users’ needs (Prototype 1.0) |
| 5 | Consolidate the insights from users |
| 6 | Generate crazy idea |
| 7 | Actualize ideas and test with prototype |
| 8 | Finding insight and accept failure (Prototye 2.0) |
| 9 | Consolidate the user needs |
| 10 | Learn maker skill |
| 11 | Practice and making |
| 12 | Practice and making |
| 13 | Getting and giving constructive feedback (Prototype 3.0) |
| 14 | Improve the prototype with different perspectives |
| 15 | Empathy as an awareness |
| 16 | Product launch & Recap the learning (Prototype 4.0) |
The Changes
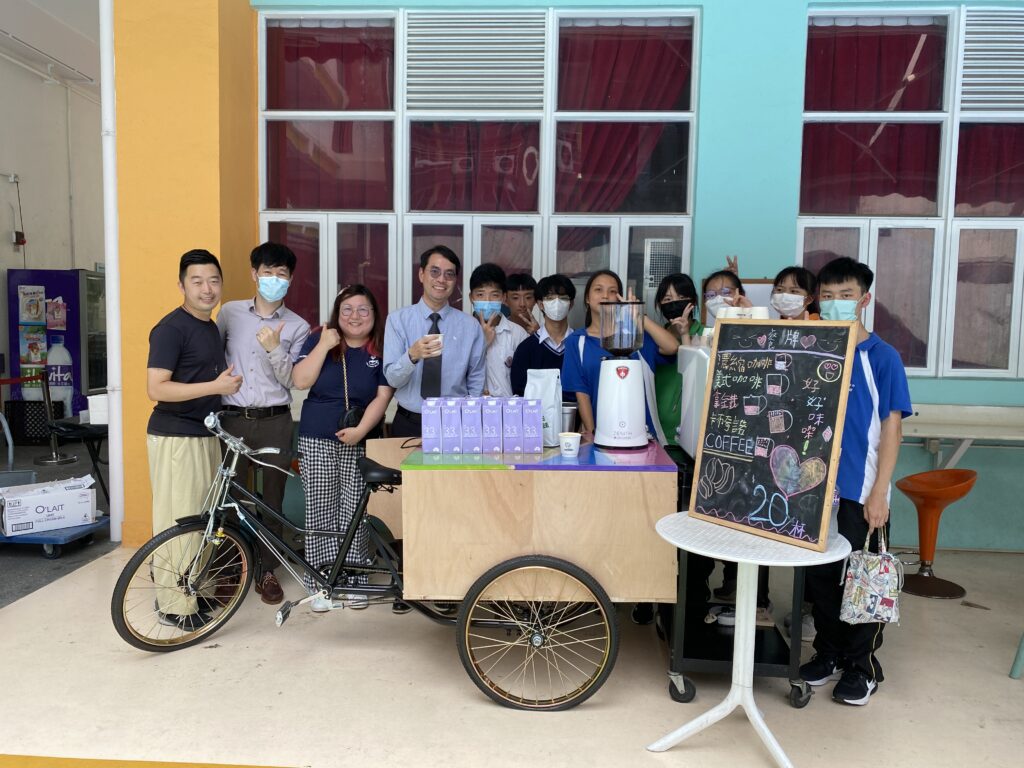
In the end, their solutions include both physical and digital products. Some of them also used a no-code tool to develop a mobile app prototype in the class. You can refer to the before-and-after comparison as follows:
| At the beginning | At the end |
| Cleaning trolley | Reward program for all student to clean their own classroom |
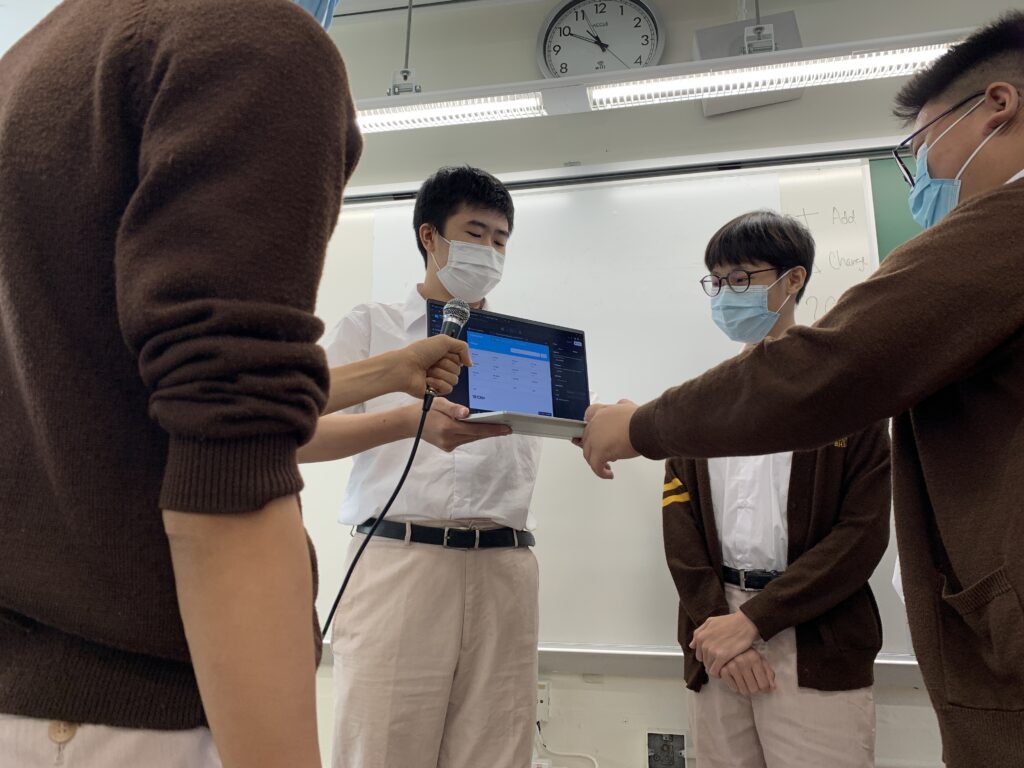
| Water bottle integrated into a portable mic | Class preparation online system |
| Vending machine | Food packaging tool |
| AI note taking app | Mobile app for teacher and students communications |
| Special Microphone | AI teaching app |
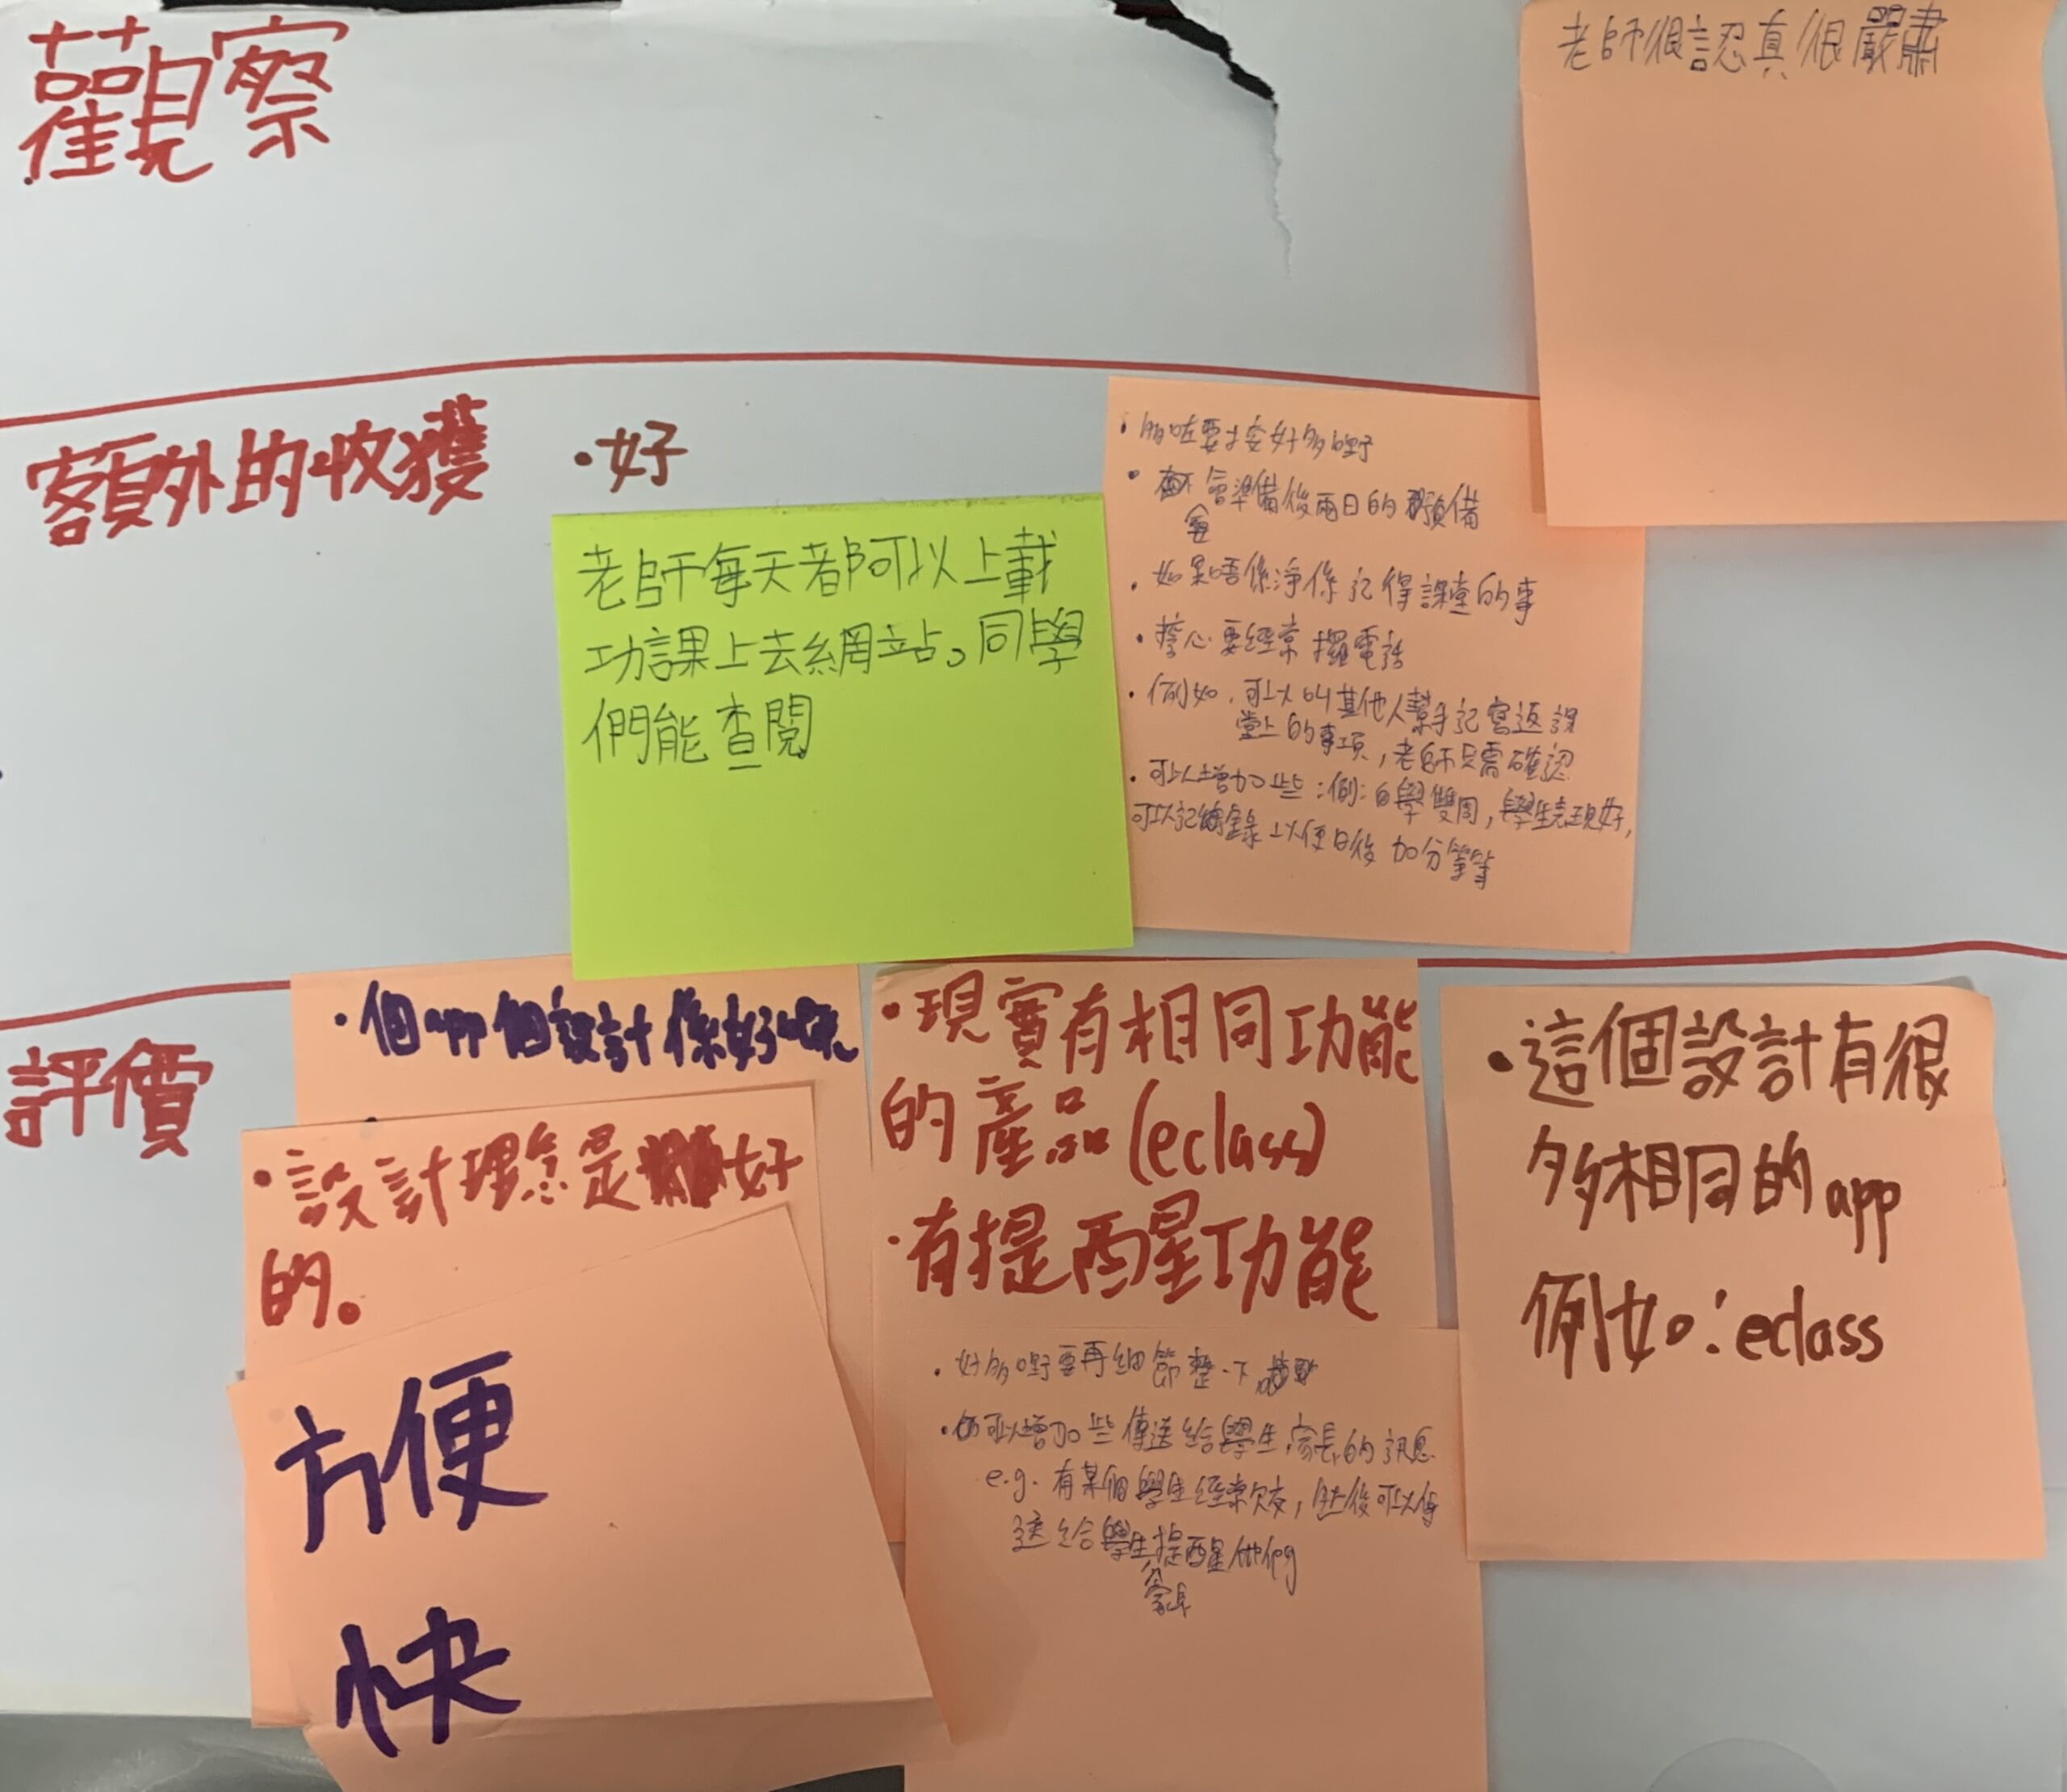
After 16 sessions, they are able to present their solutions and most importantly, learn from others’ feedback. As mentioned, it is not the end of the solution development. It is just the process. However, it is great to see the changes of the students. Not only the changes of the prototype, but also their personal change. While facing challenges, it is okay to fail and knowing how to move forward.


Responses